Table of Contents
Have you noticed some cracks or joints in your fiberglass surfaces at home? If so, don’t worry! With a few simple DIY fixes, you can handle plastering those areas yourself. Whether it’s in a bathroom, a kitchen, or your living room, repairing fiberglass is something you can master.
Let’s dive into the easy steps you can take to plaster like a pro.
Understanding Fiberglass Surfaces
Before tackling any repair, it’s good to understand what fiberglass is. Fiberglass is made from thin strands of glass woven together, and it’s often used in boats, bathtubs, and even furniture because it’s strong and lightweight.
However, over time, it can develop cracks or joints that need attention. These issues not only look bad but can also lead to water damage if left untreated.
Gathering Your Materials
To start plastering, you’ll need a few essential materials. Here’s what you should gather:
- Plaster
- Sandpaper (80 and 220 grit)
- A putty knife
- A clean cloth
- A mixing tray
- Jointing tape
Ensure that your plastering materials are of good quality so your repairs last longer. For specific recommendations, see this jointing tape for plasterers.
Preparing the Area
Before you start plastering, preparation is key! Begin by cleaning the area around the cracks and joints. Use a clean cloth to wipe away any dust or debris. This will help the plaster adhere better.
If the cracks are significant, you may need to widen them slightly with a utility knife to make the edges more accessible for plastering.
Mixing the Plaster
Follow the instructions on the package because different products might have slightly different mixing instructions. Typically, you’ll combine the plaster powder with water in a mixing tray until it reaches a smooth, spreadable consistency. Make sure there are no lumps left; this helps in achieving a smooth finish later.
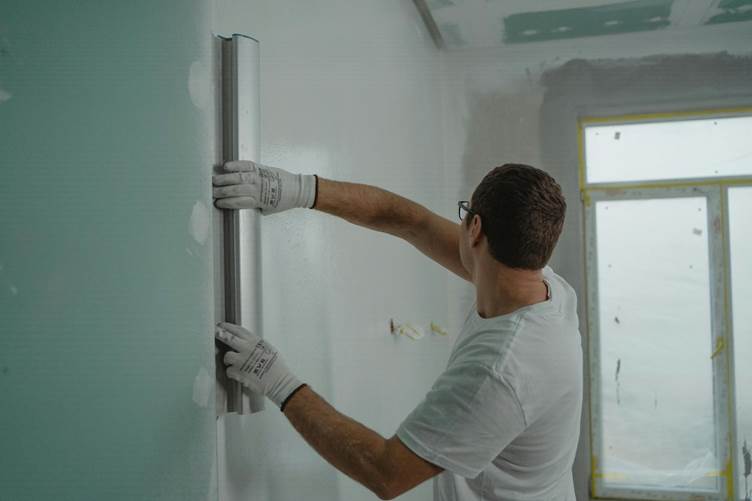
Applying the Plaster
Once your plaster is ready, grab your putty knife and begin applying it to the cracks and joints. Start at one end and work your way to the other. Apply an even layer over the crack, pressing the plaster into the joint.
Use the putty knife to smooth out the surface as much as possible. You might need to apply a second or even a third layer if the first doesn’t fully cover the defect. Allow each layer to dry completely before applying the next.
Finishing Touches
After the final layer of plaster has dried, it’s time to sand it down for a smooth finish. Use the 80-grit sandpaper first to remove any excess plaster and create a flat surface.
Once you have a good base, switch to the finer 220-grit paper to achieve a smooth finish that’s almost invisible. Be gentle while sanding, as you don’t want to damage the surrounding fiberglass.
Painting and Sealing
To complete your repair, you may choose to paint over the plastered area. Use a paint that’s compatible with fiberglass, and apply as many coats as necessary to match the existing color.
Seal your work with a suitable sealant to protect it from water damage in the future. Not only will this save you money, but it will also provide you with the peace of mind that comes from completing a home repair successfully.
Ready to Repair!
By following these simple steps, you’ll confidently handle plastering any cracks or joints in your fiberglass surfaces at home. Completing these repairs not only improves your space’s appearance but also protects it from further damage. Remember, practice makes perfect.
Don’t forget to visit our website and read more.