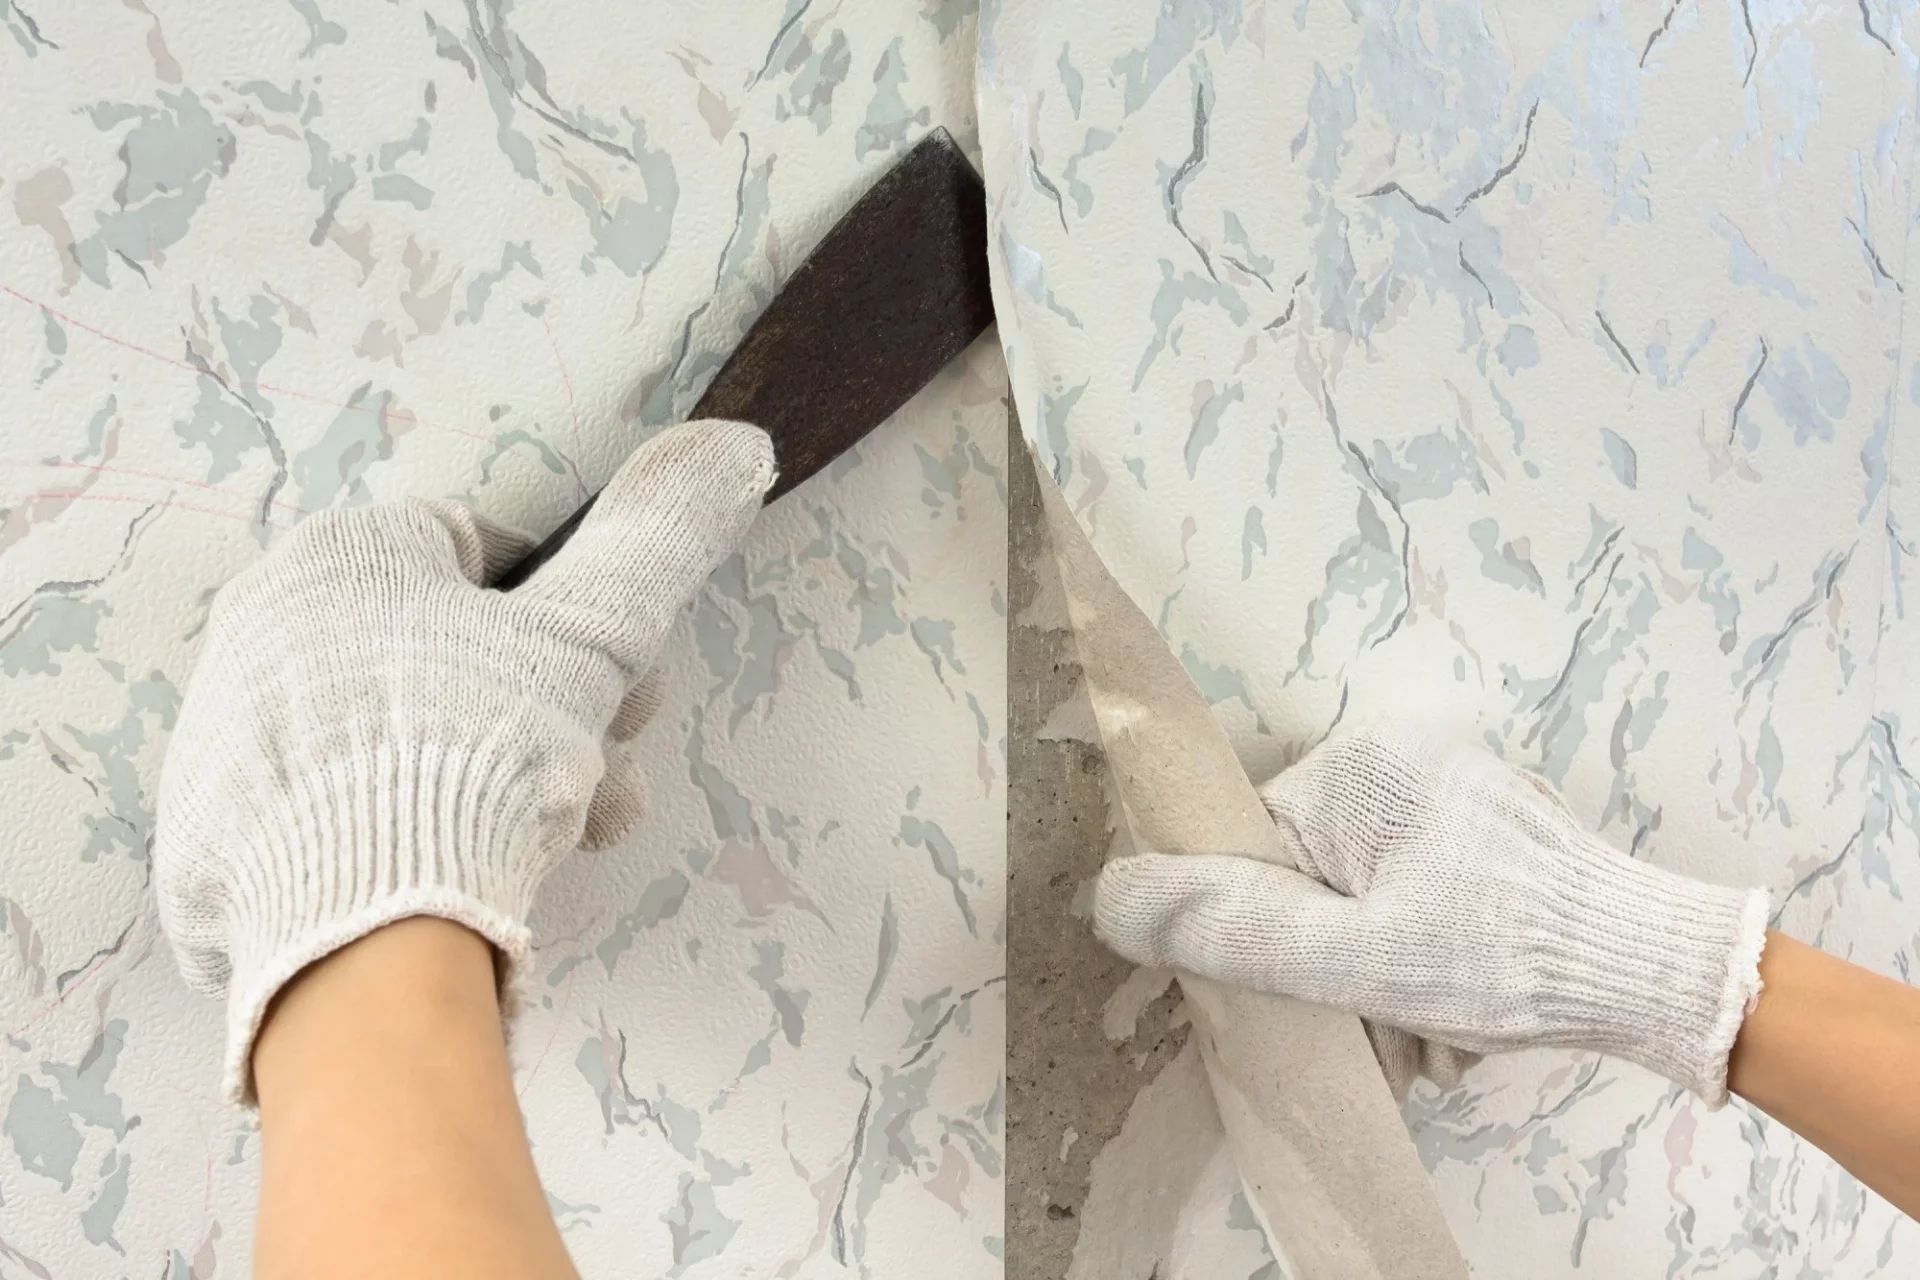
Are you tired of that old faded peel and stick wallpaper adorning your walls? Are you looking to rid your home of the outdated pattern and give it a replacement or repaint? Removing sticky wallpaper is more challenging than it seems.
Knowing the basics of removing peel and stick wallpaper is vital whether you’re a novice or a professional. It will save you from unnecessary struggles and delays. More than that, learn to accomplish the process correctly without drywall damage.
Read on to discover everything you need to know about removing peel and stick wallpaper!
What Are Peel and Stick Wallpapers?
Peel and stick wallpaper is a type of wallpaper that has a self-adhesive backing. This means that you can apply it to walls without the need for wallpaper paste or glue. Sticky wallpaper is typically made of vinyl or paper and comes in various colours, patterns, and textures.
Wallpapers are the best alternative to paints when decorating walls or covering drywall damage. But they offer particular advantages and disadvantages the way paints also do.
The neat thing about these wallpapers is that they’re temporary. They allow you to change how your room looks without a lot of work.
However, peel and stick wallpaper is less durable and can be damaged by moisture or sharp objects. And for this reason, paint is preferred. Plus, mixing it to match your room colour is also easy.
Paint experts can offer insights into choosing wallpaper and paints, especially those from Waukesha Area. These Waukesha Painters can lead you to many options for paints, wallpaper, and carpentry needs.
What Are the Challenges in Removing Peel and Stick Wallpapers?
Removing peel and stick wallpaper can sometimes present challenges, depending on various factors, such as the quality of the wallpaper, the surface it’s applied to, and the adhesive used. One of the primary challenges is dealing with adhesive residue left behind after removing the wallpaper. Some adhesives can be stubborn and difficult to remove altogether, requiring additional time and effort to thoroughly scrape and clean the wall.
You may also consider the quality of the old wallpaper. Higher-quality wallpapers might have a stronger adhesive, making them harder to remove. While this quality ensures better adhesion during use, it can also lead to more effort being required for removal.
Lower-quality sticky wallpaper might not come off in large, clean sheets. Instead, they might tear or peel off in small pieces, making the removal process more time-consuming.
We also need to know how old is the existing wallpaper. The longer the wallpaper has been applied, the more likely the adhesive has dried and become more difficult to remove. Older wallpaper might require more effort to scrape off.
If the wallpaper has been applied on top of existing layers of wallpaper or paint, removing it can be more complex, as you’ll need to deal with multiple layers of material.
The underlying wall condition is another factor to consider. The removal process can be more challenging if the paint or surface underneath is uneven, damaged, or porous. Removing the wallpaper might also damage the wall further.
There’s a risk of damaging the underlying surface while attempting to remove the wallpaper on delicate surfaces like drywall, plaster, or textured walls. Mistakes may lead to the need for repairs before applying new wallpaper or paint.
Peel and Stick Wallpaper Remover | ||||
# | Thumbnail | Product | Rating | Check Discount Prices on Amazon |
1 | ||||
2 | ||||
3 | ||||
What Are the Steps Involved?
Removing peel and stick wallpaper can be a straightforward process if done correctly. Here are some crucial steps and considerations to keep in mind:
1. Gather Supplies
First, you will need a utility knife or wallpaper scraper. A Plastic putty knife or credit card is also a suitable replacement for a utility knife.
Prepare also a spray bottle filled with water and a small dish soap. And lastly, a sponge and dropcloths for protection.
2. Preparation for Removal
Clear the area around the wallpapered surface to make room for your work. You may use drop cloths to protect the floor and any furniture nearby.
Before removing, please test a small corner of the wallpaper to understand how easily it comes off. Check if it leaves any residue on the wall.
3. Peel Off the Top Layer
If the wallpaper has a top layer that can be easily peeled off. Carefully lifting off these edges and peeling them away. This might reveal a layer of adhesive.
4. Remove the Adhesive
You can use a plastic putty knife, a wallpaper scraper, or an old credit card to remove the adhesive layer. Work the tool’s edge under the adhesive and peel it away from the wall.
For stubborn adhesive, use a spray bottle filled with warm water and a small amount of dish soap. Spray the solution onto the sticky side and allow it to soak for a few minutes. This can help loosen the adhesive and make it easier to remove.
Applying steam can sometimes help remove stubborn adhesive during wallpaper removal.
5. Scrape and Wipe
Once the adhesive is loosened, use the wallpaper scraper, putty knife, or credit card to scrape away the adhesive gently. Avoid damaging the wall underneath.
Keep a damp sponge nearby to wipe away any residue as you work. This will prevent the adhesive from drying and becoming more challenging to remove.
6. Clean, Inspect, and Repair
After removing all the adhesives, clean the wall with warm water and a sponge to remove any remaining residue. Use a mild cleaning solution if necessary. But test it in a small area first to ensure it doesn’t damage the wall.
Once the wall is clean, inspect it for any damage. Suppose there are any holes, gouges, or imperfections. In that case, you might need to patch and repair the wall before applying new wallpaper or paint.
7. Dispose of Materials
Dispose of the removed wallpaper and any adhesive remnants according to local waste disposal guidelines.
Remember that the ease of removal can vary based on the quality of the peel and stick wallpaper and the condition of the wall underneath. Taking your time and patience will help ensure a successful removal process without damaging the underlying wall surface.
Get Ready for a New Wall
You may now start your home improvement project. Dress up your rooms and walls with a new look you’ve longed to have. With the right tools and tips, removing peel and stick wallpaper will be simple and doable.
Just follow these guidelines in dealing with old removable wallpaper.
We hope you enjoyed this guide to wallpaper removal. For more great home improvement content, check out the rest of our blog!


